
Perhaps you're just starting out with woodturning and wondering how to add texture. Ernie Conover shows how easy it is to add texture to woodturning projects. Textures are natural patterns that can be used to embellish objects in various ways. These textures can be used to enhance your project's personality and design. Whether you're making a salt and pepper shaker, a bottle stopper, or a stacked ring bowl, there are many ways to add texture to your project.
Making a rolling Pin
A rolling pin is a tool that can be used to turn wood into a useful tool. Wood rolling nails are typically long and made out of straight, unblemished wood. You can use any type of hardwood depending on how long the pin is. However, hard maple, cherry or apple wood are the best for rolling pins. Ash, ash, or another similar hardwood, is also an option. Some cheaper versions are made of soft maple and birch, but it's important to pick out the right wood for the task.
To begin, measure the diameter of the handle and the diameter of the rolling pin. Measure the diameter using the Parting tool. Then use the Roughing Gouge and reduce the handle to its diameter. The Bowl Gouge can be used to create the curves for the rolling pin after you have measured the diameter. This will let you begin threading your pin. Once your rolling-pin is complete, apply a foodsafe finish and let it dry on a tray for 15 minutes.
Making a salt/pepper shaker
There are many ways you can make these handy utensils. To make a beautiful salt and pepper shaker, you can use a mason-jar. Using a small nail and hammer, lightly punch holes along the letters. A cork can be placed through the holes, leaving 5/8-inch wood at the end. Add salt and pepper to the shaker and you can enjoy your creation.
A collection of Coca-Cola cans might be lying around that isn't being used. These bottles can be recycled to make a salt-and-pepper shaker. You can use tape to make the lines of the bottle clean, or you can paint it with metallic gold leaf paint to add a simple detail. You can also use any other colour of all surface paint.
Making a bottle stutter
You need to follow a few steps in order to make a bottle stopper. First mount the blank in between two centers. This will create a collet to mount in the chuck. Next, turn the piece into the desired shape. Then, you'll turn a threaded piece to attach the decorative turned portion to the bottle. You can use different sizes threaded supports.
Before you start the process, make sure to choose the correct kind of wood. You can purchase blanks at a craft store. The blanks will probably already be squared up, but if you cut the wood yourself, make sure that the pieces are flat and square. If you purchase the wood in a store you will need to square them. Use a tablesaw or chopsaw instead. Use a clamp to straighten odd-shaped pieces. Finally, smoothen the finish by using a fine-grit stone sandpaper.
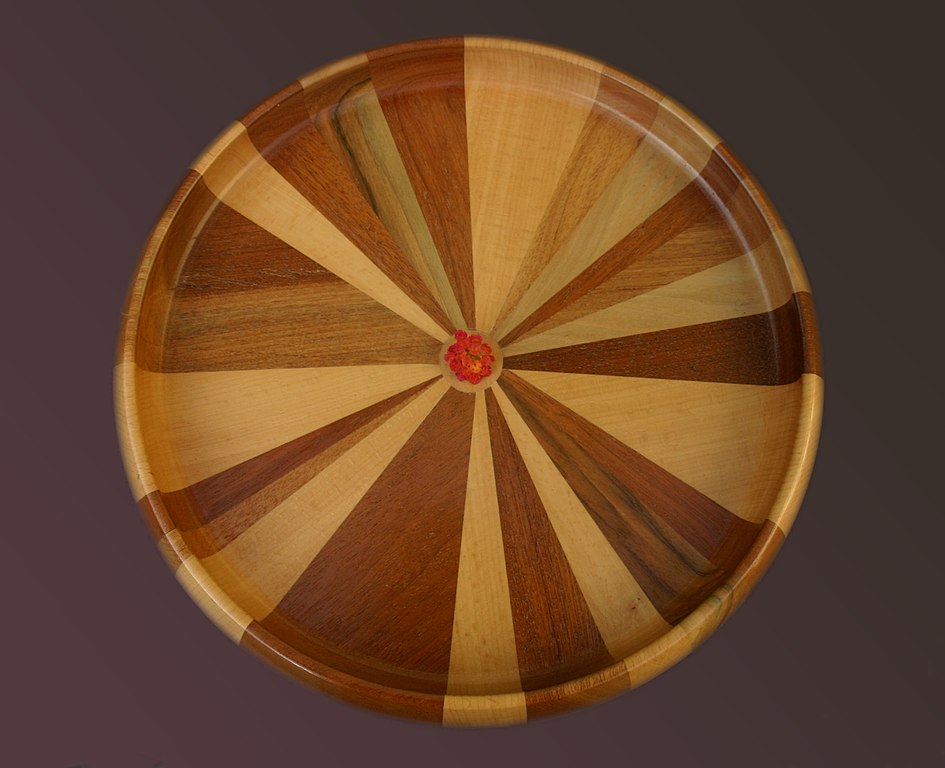
Making a stacked ring bowl
You can make a large stacked bowl for woodworking by dividing two or more flat boards into concentric ring-shaped pieces. Normally, the rings are glued together with a butt joint, but a sliding dovetail joint can add interest. The boards should have a width of approximately five inches and a thickness of one inch. The faces of the boards have been joined and the joining edges have been planed.
A trammel or jig can be used for cutting a segmented, ring bowl. The thickness of the board will determine the spacing of the segments and the number of layers necessary to achieve the desired height. The minimum thickness for the board is one inch. Preferably, it should not be thinner than 5/8 or 3/4 inches. You can also use a trammel, or a circle-drawing device to mark the bandsaw lines.
FAQ
How can you calculate woodworking pricing?
It is essential to calculate costs as accurately as possible when pricing any project. You should always try to make sure that you are getting the best deal on materials. It's also worth taking into account all the other factors that may affect the cost of your projects, such as time, skill level, and experience. Our guide to the average household DIY task price will give you an idea of how much it costs to complete different types of woodwork projects.
Can I make my living doing this job?
Yes! Many woodworkers have this ability. According to the U.S. Bureau of Labor Statistics, the median annual woodworker wage was $34,000 in May 2012. This is more than the national average of 31,000 per annum.
Where can you buy hardwood lumber?
Home Depot offers hardwood lumber. They carry a variety of wood products such as flooring, cabinets, and furniture.
A wide range of engineered hardwoods are also available, such as Ipe and Brazilian Cherry (Pau d'Arco), Mahogany and Swietenia Macrophylla.
These woods are available online by searching Google for "hardwood lumber".
How do I learn basic woodworking skills?
A great way to start learning how to build furniture is by building a simple bench for yourself. This project can be done with any kind of wood that you have at home. If you aren't sure what type of wood to use, you can buy cheap pine boards from Lowes or Home Depot. Once you have built your bench, you will need to sand it off and then finish it with a stain/varnish.
What type of wood should I choose?
The most popular types of wood used in woodworking include oak, pine, birch, maple, cherry, mahogany, teak, poplar, redwood, and bamboo. Each type of wood has unique characteristics that affect the look and feel of the final product. Oak tends to be harder and darker than other woods. Birch is soft and light, and mahogany is denseer and heavier. You can also choose from solid wood or veneers. Veneers consist of thin sheets made from wood and glued together to form a single layer.
Statistics
- Woodworkers on the lower end of that spectrum, the bottom 10% to be exact, make roughly $24,000 a year, while the top 10% makes $108,000. (zippia.com)
- In 2014, there were just over 237,000 jobs for all woodworkers, with other wood product manufacturing employing 23 percent; wood kitchen cabinets and countertop manufacturing employing 21 percent. (theartcareerproject.com)
- If your lumber isn't as dry as you would like when you purchase it (over 22% in Glen Huey's opinion…probably over 10-15% in my opinion), then it's a good idea to let it acclimate to your workshop for a couple of weeks. (woodandshop.com)
- Average lumber prices rose about 600 percent between April 2020 and May 2021. (familyhandyman.com)
External Links
How To
How to make wood joints
This tutorial will demonstrate how to join two pieces together of wood. We will use the "pockethole joint," which means that we drill holes in the wooden pieces and then glue them together. If your wood has a straight grain, smooth surface, you can use this method. If your wood isn't straight or flat, you might want to try another method, such as dowel joinery. These are the steps
-
Drill Pocket Hole Joints. First, measure the area where you wish to place the pocket joint. Use a jigsaw or handheld drilling machine to drill 3/8 inch deep holes at the ends of each wood piece.
-
Sand Smooth. You can sand the edges of the wood to ensure that it doesn't split.
-
Glue Together Apply glue to both the ends of the wood. Allow it to sit for approximately 5 minutes before you clamp the pieces together.
-
Attach the Pieces together. After the glue has dried completely, you can clamp the pieces together until they are flush.
-
Trim Joinery. Trim any excess wood surrounding the joint once the glue has dried completely.
Make sure to leave enough room between the pieces so that you can turn them inside and out.