A lidded project is one that requires you to measure the box's sides and perimeter. The lid and box are typically cut from the same 2-in thick block of seasoned wood. You will need to cut a foot across one end of the wood in order to square the base. To ensure that the final box is able to sit on it, you need to make sure the base's center is slightly recessed. Use a small scraper to cut the recess.
The challenges of hollowing end grains in lidded box
Hollowing end grain is a common problem in box-making. This process is complicated and requires specialist tools. A simple hollowing tool can be made for $30 using an old screwdriver. A gouge can be purchased and used for this purpose. Avoid sharp edges when hollowing end grain. A gouge should feature a long, flat edge and a round fingernail.
One of the biggest challenges of hollowing end grain is that it is five times harder than side grain. It can also be prone to tearing out. This is one of the reasons why experienced bowl turners often experience problems when hollowing end grain. Changing from a gouge to a scraper can help overcome these problems, but it is worth noting that lidded boxes often require special end grain tools.
Methods to create a snap-fit lidded bag
A snap-fit lidded box is a type of container with a sliding closure. These boxes may contain liquid or other liquid-filled container. These boxes are simple to assemble and disassemble. They can also be automated for lower assembly costs. There are many types available. Therefore, engineers should select the best snap-fits based on their cost, strength, failure rate, and other factors. This article will provide an overview of all types of snap-fits.
Use a 3-D printer for creating a snap-fit lidded package. It is important that the upper half of the box be designed correctly. The base must be in line with the upper portion. The lid should remain in place. The lid should snap in place. This can be achieved by removing wood in small steps. Although this may seem difficult, it is well worth the effort.
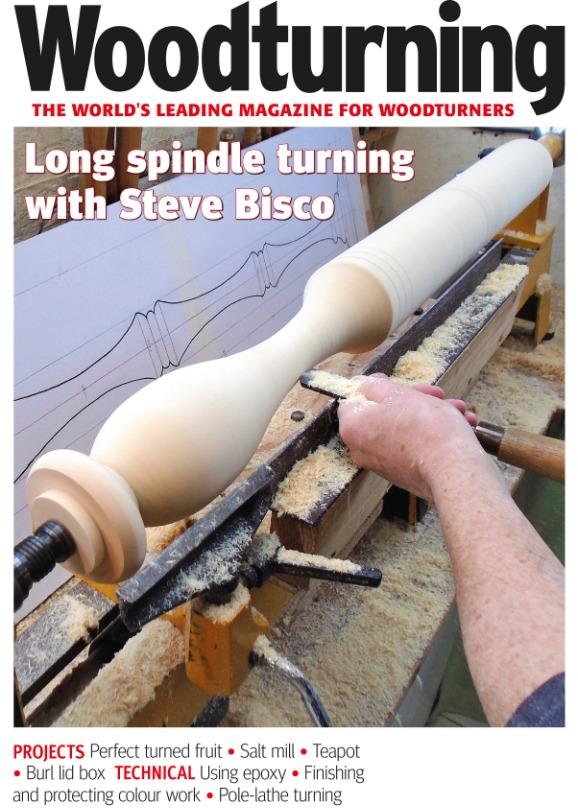
Wooden used to make lidded boxes

Woods are taken from fallen trees to create the various types of lidded boxes. After a tree has been harvested, it is dried to prevent cracks. The wood is then rough turned to create a general shape. The wood undergoes another drying process, which makes it shrink. Depending on the design, the lidded box can also be made from different types of wood. The lid is usually made up of two pieces. One is smaller than another.
By turning small circular containers on a lathe, they could be made with lids. A turner typically used boxwood, a slow-growing tree with a close grain and thin parts. This wood was particularly useful for making fine features because the grain was so close together. It was commonly used to make double sided combs. The boxwood used in the making of lid boxes was also known by the name pyxides.
Size of lidded box
The type of wood used will determine the size of your lidded box. Maple and cherries are the most popular woods. Both types of wood shrink at different rates, making them great choices for boxes. For a quality box, wood should be three inches square and five or six inches long. It is important to dry the wood before you start choosing it for your box. Exotic woods can be used to make a beautiful lid. However, it is important that you are familiar with the process.
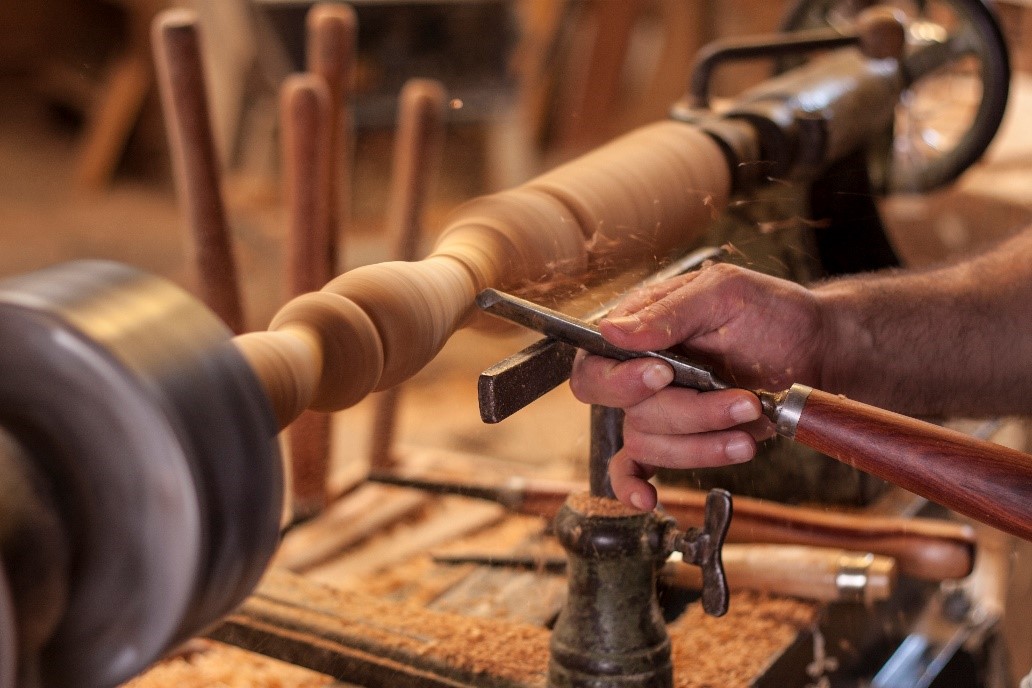
First, prepare the wood. For smoothing and rounding the bottom, you will need to use a thin circular chamfer. Cut a V shape at the joint. Once you're satisfied with the design, you can use the spindle-roughing touge to finish shaping and finishing the rest. Before you begin carving the lid use a dividing tool to mark where the bottom is. You can then use a skew chisel to make a small chamfer on the base of the lid. This will soften corners and hide a slight circularity around the base/lid joint.
FAQ
This is a job that I can make a living from.
Yes! Many woodworkers do. According to U.S. Bureau of Labor Statistics (BLS), woodworkers earned a median annual salary of $34,000 in May 2012. This is much higher than the national median of $31,000 per annum.
How can I learn basic woodworking skills
It is an excellent way to learn how to build furniture. You can make a simple bench yourself. You can do this project using any type of wood you have on hand at home. If you are unsure what type of wood is best, you can get cheap pine boards at Lowes (or Home Depot) instead. After you've constructed your bench you'll want sand all the rough edges off and varnish it.
What kind of wood should I use?
There are many wood types that are used in woodworking, including oak, maple and birch. Each type of wood has its own unique characteristics that can affect the final product's appearance. Oak is a darker wood and tends to be more durable than other types. Birch is soft and lightweight, while mahogany is denser and heavier. You also have the option of solid wood or veneers. Veneers are thin wood sheets that are glued together to form one layer.
How do I calculate woodworking prices
Remember to keep costs as low as you can when calculating project costs. You should always try to make sure that you are getting the best deal on materials. It's also worth taking into account all the other factors that may affect the cost of your projects, such as time, skill level, and experience. Check out our guide on the average cost of common DIY projects to get an idea of how much you can spend on woodwork projects.
Statistics
- If your lumber isn't as dry as you would like when you purchase it (over 22% in Glen Huey's opinion…probably over 10-15% in my opinion), then it's a good idea to let it acclimate to your workshop for a couple of weeks. (woodandshop.com)
- Most woodworkers agree that lumber moisture needs to be under 10% for building furniture. (woodandshop.com)
- Overall employment of woodworkers is projected to grow 8 percent from 2020 to 2030, about as fast as the average for all occupations. (bls.gov)
- In 2014, there were just over 237,000 jobs for all woodworkers, with other wood product manufacturing employing 23 percent; wood kitchen cabinets and countertop manufacturing employing 21 percent. (theartcareerproject.com)
External Links
How To
How to properly use a saw
Hand saws can be used to cut wood into small pieces. Most common hand saws include circular saws (jigsaws), table saws and band saws. A handsaw can be made of metal or other plastic. It cuts through material such as wood and plastics.
Hand saws have the main advantage of cutting at precise angles without needing to adjust the blade. It is also very easy to sharpen them, unlike power tools. There are also some drawbacks. They are also heavy and bulky so be careful when moving them. You could also injure your self if you don't know how to use them.
There are many ways that you can use a handsaw. When cutting, you should keep your hands away from the blades. If you don't, you might get hurt. When holding the saw, you should place your fingers around the handle, keeping your thumb up near the top of the blade. You won't accidentally touch it.
Never place anything under a piece of wood that you're cutting with a handsaw. The blade could slip if you do this. Before cutting, be sure to check the area. Check for nails, screws and other objects underneath the wood.
When working with a handheld saw, safety goggles are essential. They prevent dust from getting into your eyes, making it easier to see what you're doing. Safety glasses protect your face against flying debris, which is another reason they are useful.
First, learn how to safely use a hand saw. Practice until you feel comfortable cutting. Once you've mastered the basics, you'll find that you can easily cut almost anything!