A template will assist you in positioning your patterns on the wooden surface. You can also use it as a reference when drawing on the wood. A template is useful for repeat pieces as well. It can be saved to save for future projects. First, prepare your template. You can learn more about how to create one. Here are some useful tips for creating a template for wood carving. Once you have created your template, you can now start creating your designs on the timber!
Beginner woodcarving projects
A chess pawn for beginners is a great beginner woodcarving project. This is because the pawn's rounded edges require more precision in shaping the head. You can keep working on the pawn until you achieve the desired shape. This is particularly important for beginners as it is crucial to make 16 identical pieces. It will teach you the basics about carving curves, and how to balance your work.
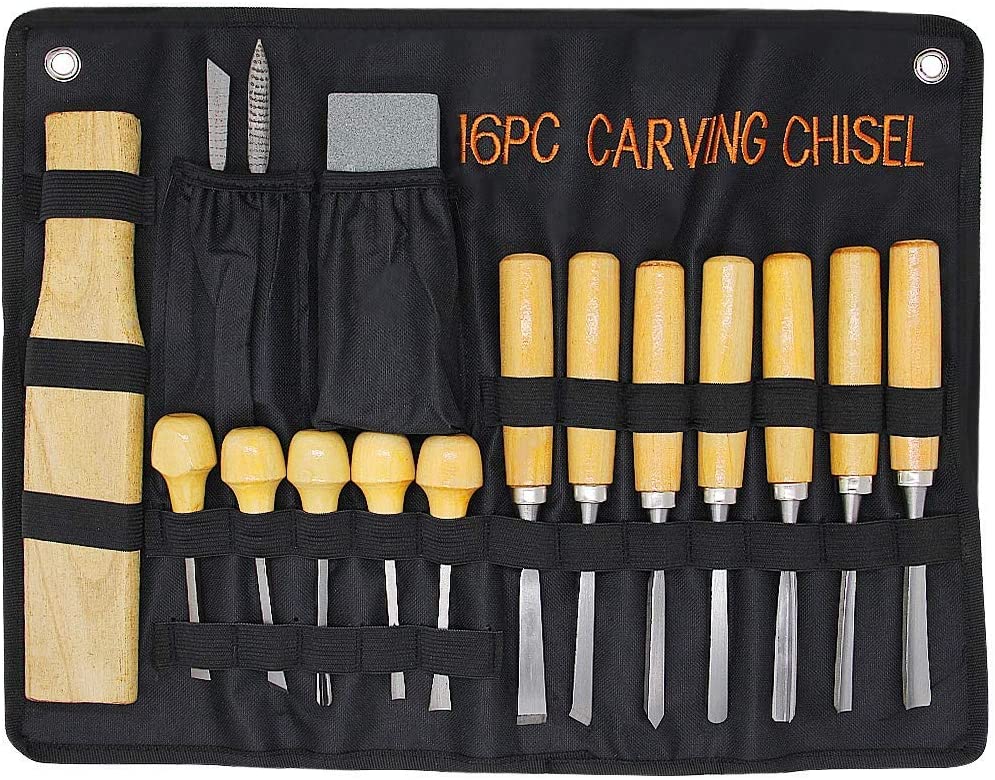
Different types of wood may require different techniques depending upon your abilities and the materials that you have. These woods may require more complex tools than others. It is crucial that you use the correct tools for the task. A dull or ineffective tool will make the job much more difficult and potentially dangerous for the wood. Balsa or Birch are good choices for beginners.
3d wood carving designs
3d woodcarving patterns are a great starting point. You can even carve full-size bird figures with this type of pattern. If you're a beginner, it is best to start with a larger piece of wood. 3D designs will require you to switch knives more often. Bear carving is also a popular choice. You can make a cartoon bear or a real-life one.
A bear is an easy animal to carve as it is burly and round. To begin carving this animal, you can make a 360 degree sculpture and locate a reference photograph that shows its main shapes. Once you've mastered the technique, you can either carve the bear with a CNC or by hand. This pattern is flexible enough to be creative in any way. It is a great way to learn how to carve and create a piece of art that will last for years to come.
Dongyang Wood Carving
Dongyang Wood Carving is an ancient Chinese art that has been transformed into a distinctive category. The art form dates back as far as the Tang Dynasty, when it first appeared in the Taihe year. Dongyang wood carvings often include references to the legend about the white snake. As the name implies, this type of carving is highly detailed. This makes them more expensive than other wood carvings.
Dongyang wood carvings can be used to decorate almost any wooden surface. These works can be displayed in both private and public spaces. A popular example of such a work is the one depicting "The Legend of the White Snake". This story narrates the tale of an immortal snake who fell in love with a young woman. He was held under the Leifeng Pagoda but was freed when it collapsed and the lake dried up.
Whittling flower
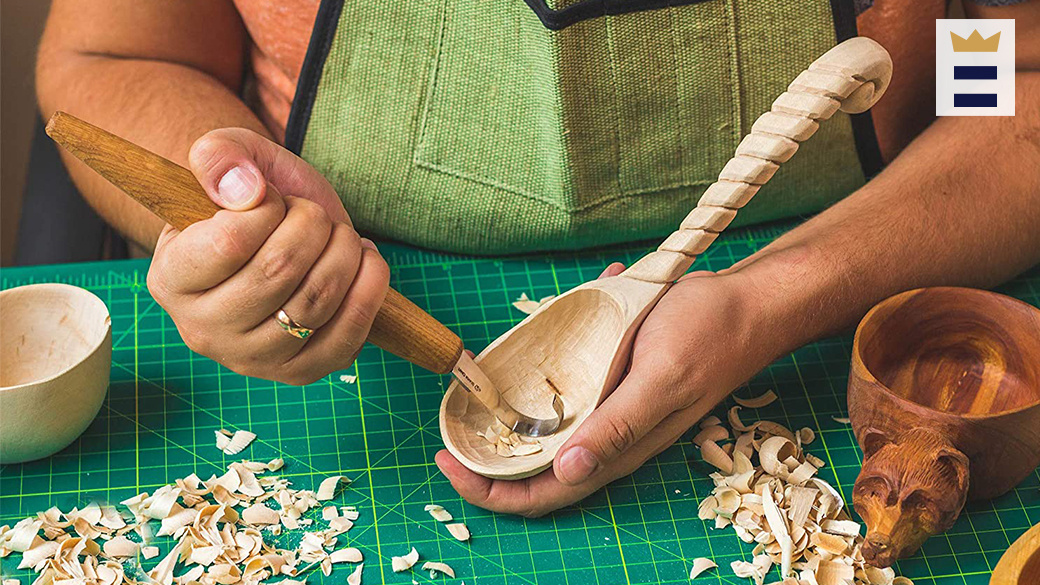
A whittling project is a great choice for beginners in wood carving. You can carve this beautiful flower in many different ways. Each one is equally rewarding. You can begin by drawing the petals of your flower to get an idea on the shape of the finished product. Next, transfer the design to the wood chunk. This will enable you to visualize the finished shape, eliminate any unneeded parts, and make carving easier.
You will need special tools to carve flowers. A gouge helps to cut the petals as well as the background of the flowers. You can also use the gouge to cut the stems simultaneously and redraw them as needed. You can also carve intricate details with a Dremel. You can also modify the blade of the carving instrument to achieve different shapes.
Wooden ARO
Aro's work can be collected using wooden ARO drawings. These artists were keen to preserve traditions and create works from old items. Aro, for example, transformed a broken tabletop into a wooden relief called Leipaenkeli in 1975. This means "bread angel" in Finnish. Despite its simplicity, the piece conveys many traditional values. To learn more about this artist, check out his biography.
Students engage in a multidisciplinary STEAM-based production process in order to create a unique work for a public display. Students may choose to collaborate with a regional or international artist. Students are also paired with mentors who have achieved success in their chosen career and who focus on their own personal journey. The program is tailored to students who are disadvantaged and often includes community involvement.
Wooden Cragg
Many woodcarvers use the craft to create beautiful pieces of art. A popular style is called "Pierced Relief", which involves carving an entire section of wood from a single piece. Another artist uses this method to create abstract pieces which are less abstract but still retain the details of their original pieces. Remy Clemente (France) and Morgan Maccari (France) depict a series of wood frames that were melted into a frame.
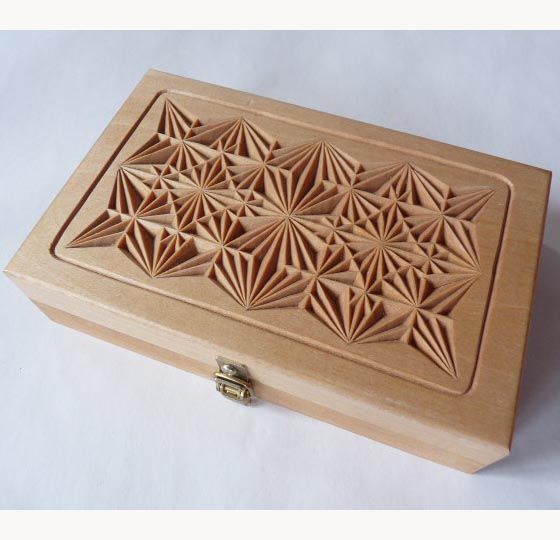
Beginners can start by making simple geometric patterns. You can then develop the skills necessary to carve more complicated designs. Consider printing out sketches of your chosen designs to get a feel. Wooden carving drawings are an excellent way to practice. You should carefully follow all instructions. It will be easier to create wood carving drawings that achieve the results you want. There are many options for designs, such as flowers, fruits, or animals.
FAQ
What tools work best for me?
It's important that you consider your needs and preferences while shopping for tools. Do you prefer metal handles or plastic? What size are you most comfortable using for screws and nails? Do you prefer to use hand tools or power tools?
Where do I start with woodworking?
The best way to learn how to build furniture is by building furniture. You will need tools. There are bound to be mistakes. But if your persistence is consistent, you will soon master the craft.
Begin by choosing the project that you want to finish. It could be something as simple as a box or as elaborate as a full-scale entertainment center. Once you've decided on a project, find a local woodworker who specializes in that kind of work. Ask him or her for advice on what tools you'll need and where to find them. Ask if you can find someone who does this kind work.
Where can I get free woodworking plans?
Woodworking plans can be found online without the need to purchase books or magazines. Search Google for free woodworking plans. Just enter "free woodworking" into the search bar, and you'll see hundreds of websites where you can download free plans.
How do you know which type of wood you are working with?
Always read the label when purchasing wood. The label should detail the wood species, its moisture content and whether it has been treated or not.
How do I calculate woodworking prices
The most important thing to remember when calculating costs for any project is to keep them as low as possible. Make sure you're getting the best prices on materials. Also, consider all other factors that can affect the price of your projects such as skill level, experience, time and cost. If you want to get an idea of what you can expect to spend on different types of woodwork projects, check out our guide to the average price of common household DIY tasks.
How much will it cost to get started?
Each project is unique so there aren’t exact numbers. But if you want to get an idea of how much money you'll need, consider these factors:
-
Materials cost
-
Tools and equipment
-
Time spent on the Project
-
The hourly rate
-
What profit are you expecting to earn?
-
It doesn't matter if your goal is to hire help
If you're just starting out, you may decide to start small by making simple items such as boxes and picture frames. You'll become more proficient as you get experience.
Do I need to be a genius to succeed in woodworking?
No. No. Woodworking isn't rocket science. To create stunning works of art, anyone can learn to use basic power tools.
Statistics
- The U.S. Bureau of Labor Statistics (BLS) estimates that the number of jobs for woodworkers will decline by 4% between 2019 and 2029. (indeed.com)
- Average lumber prices rose about 600 percent between April 2020 and May 2021. (familyhandyman.com)
- Most woodworkers agree that lumber moisture needs to be under 10% for building furniture. (woodandshop.com)
- Woodworkers on the lower end of that spectrum, the bottom 10% to be exact, make roughly $24,000 a year, while the top 10% makes $108,000. (zippia.com)
External Links
How To
How to stain hardwood
Staining wood refers to applying chemicals to wood's surface. This chemical reaction causes the wood to change in color. This chemical reaction changes the wood's color from white to brownish. Oak is the most common wood type for staining. However, you can also use other wood types.
There are many ways to stain wood surfaces. One method involves mixing the stain and a solvent and then spraying it on the wood. Others use a solution made up of water and dye, which is then applied directly onto the wood. The stain can be mixed with paints and varnishes to become part of the final coating.
The first step in staining wood is preparing the surface. Clean the wood to get rid of any grease, dirt or other substances that might be detrimental to the stain's application. Sanding smoothens scratches and rough spots. Next, you need to decide which stain you want. Penetrating stains are different from non-penetrating. Penetrating stains penetrate deeper than non-penetrating stains, which makes them great for dark colors like mahogany. Penetrating stains are best paired with lighter colors, such as maple.
After deciding on the type of stain, you want to apply, prepare your tools. A paintbrush works well for applying stains because it allows you to spread the liquid evenly across the surface. To remove any stains left behind after painting, you will need some rags. You should have enough containers to store the various components of the stain mixture if you intend to mix it yourself.
After you have prepared the materials, you can clean the area where you want to stain the wood. To remove dirt and dust, use warm water and soap. Wipe down all furniture pieces with a dampened cloth and clean water. Make sure you eliminate any loose debris, especially if you plan to stain darker wood.
Next, apply the stain. Next, apply the stain to the furniture by starting at one end. Move slowly and carefully along the grain of your wood until you reach its opposite end. Make sure that the stain does not drip off the edge of the wood. Before moving on to the next steps, allow the stain drying completely.
Apply a clear polyurethane sealant to protect the painted surface. Apply three coats polyurethane sealer. Allow the third coat to dry overnight before sanding the final coat.