
This article will discuss the inlay techniques, the materials used, as well as how to install and maintain it. With a rotary handpiece and 1/16" upcut spiral bits, we'll learn how to make mortise and inlay. Continue reading to find out more. Try it! This simple yet rewarding project should be a joy! You can't turn a woodturning project without inlays!
Techniques
Inlay techniques can play a significant role in a woodworking project. They can add beauty and interest to the final piece. There are many methods to create beautiful inlays. Each of these has its own advantages. This article will provide a guideline to the various methods. Learn more. Preparing the wood is the first step. It can be cleaned thoroughly using a damp rag, or a towel made of paper. To get rid dirt and residue from the wood, you can use mild dish soap. Chemicals can damage the wood so be cautious when using them. You may also want to use hand tools, as opposed to using routers to cut the wood into inlay patterns.
Inlay techniques can be applied to other materials. One example is stone, metal, or wood. Inlaid pieces are a great way to create contrasting images when used correctly. Different types of inlay tools are used, including knives, jigs, and fixtures for holding the inlayed pieces in place. Inlaying can take place before or after you turn the wood. After you have turned the piece you can add inlay material to the top of the piece or the bottom.
Materials
The versatility of the inlay materials you choose to cover your finished object's surface will increase its visual appeal. Inlay materials are able to be used to cover many different types of recesses. In some cases, you can even use inlay materials to cover screw heads or brad nail locations. Follow these steps to make these stunning inlays.
The first step in creating an inlay is to decide on a material. This is why some materials are better suited than others. People may feel more comfortable using resin inlay, which doesn't require you to cut intricate pieces or fill in gaps after mortises were made. There are many colors available, which can make resin look magical. Here are some tips to use resin as an inlay material.
Installation
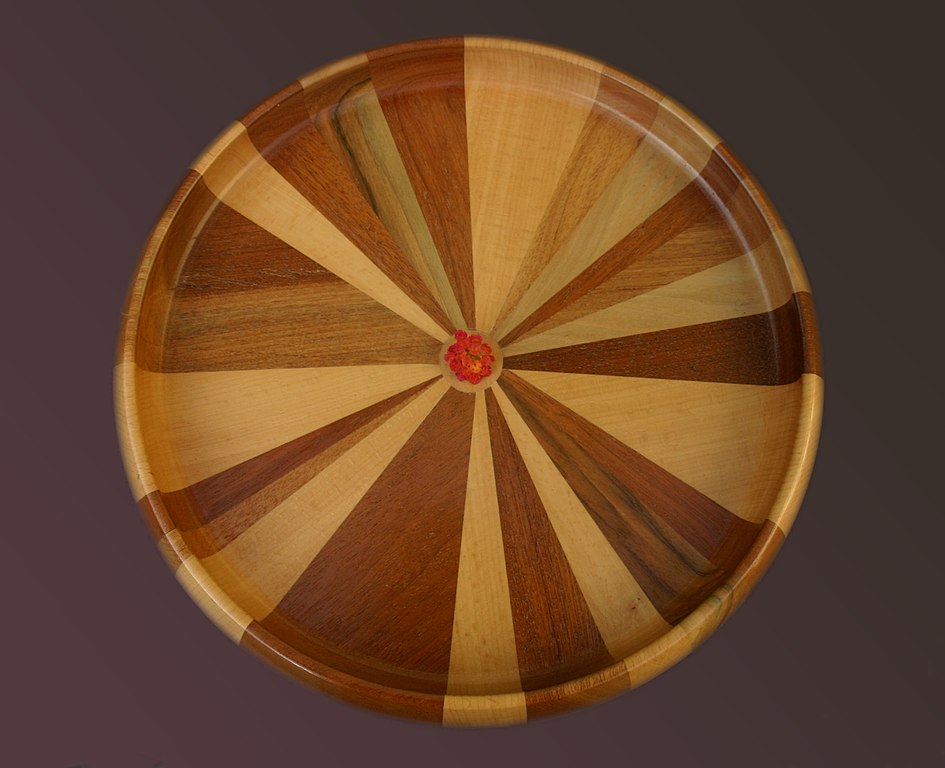
Inlay work is a decorative element that is applied to turned wooden objects. Ron Hampton provides detailed instructions for woodturners on how to inlay woodturning. He demonstrates the steps involved in installing inlays on bottoms and tops. He also discusses safety and precision. This adds an unique touch to wood turnings. Woodcraft offers a variety of inlay bands.
Preparing the base of the wood for woodturning inlay is essential. You will get the best results using a plunger. Attach the template guide to the base of the router. Make sure the bushing is in the proper position around guide collar. Make sure that the base is flat after placing the inlay. Installation will be simpler if the inlay has an angled edge. It will be easier to install the inlay if your router has a bit slightly larger than the mortise.
Maintenance
Woodturning inlay requires only a few simple steps. Make sure to clean your inlay well before you start your woodturning project. This is especially important for those using CA glue in stone inlay. To measure the depth of the inlay, you may use a 3/16" allen key to make it smaller. You can sand your inlay to 120 grit to avoid scratching it.
FAQ
How do I learn basic woodworking skills?
A great way to start learning how to build furniture is by building a simple bench for yourself. This project can be completed with whatever wood you have available at home. If you are unsure what type of wood is best, you can get cheap pine boards at Lowes (or Home Depot) instead. Once you have built your bench, you will need to sand it off and then finish it with a stain/varnish.
How do you calculate woodworking prices?
The most important thing to remember when calculating costs for any project is to keep them as low as possible. You should always try to make sure that you are getting the best deal on materials. It is important to take into consideration all factors that can impact the cost of your projects. These include time, skill and experience. You can find an estimate of the cost of different woodwork projects in our guide to common DIY tasks.
What is the average time it takes to finish furniture?
It depends on which wood you choose, how complicated your design is and what amount of finishing you apply. Hardwoods are more difficult to maintain than softwoods. Hardwoods can also be more costly than softwoods. They last longer and are more resistant to moisture. The typical time taken to finish a piece furniture takes anywhere from one to three month.
Which wooden items are very popular?
The most successful wooden items are made from sustainable wood.
The most used wood types for furniture are oak, maple and walnut.
These woods are extremely strong but also have beautiful colors and grain patterns. They can also last for years if they are properly cared for.
Wooden furniture should always be painted first to protect against moisture damage. This covers all surfaces, drawers included, as well as doors and handles.
Paint that is water-resistant will ensure furniture lasts for a long time.
Use a high-quality, oil-based primer and two coats of topcoat. You may need to apply several coats of top coat depending on how much wear it is expected.
You should avoid using aerosol paints or spray cans. These products have solvents that evaporate quickly, leaving behind dangerous fumes.
Statistics
- The best-paid 10 percent make $76,000, while the lowest-paid 10 percent make $34,000. (zippia.com)
- Woodworkers on the lower end of that spectrum, the bottom 10% to be exact, make roughly $24,000 a year, while the top 10% makes $108,000. (zippia.com)
- Most woodworkers agree that lumber moisture needs to be under 10% for building furniture. (woodandshop.com)
- If your lumber isn't as dry as you would like when you purchase it (over 22% in Glen Huey's opinion…probably over 10-15% in my opinion), then it's a good idea to let it acclimate to your workshop for a couple of weeks. (woodandshop.com)
External Links
How To
How to stain wooden surfaces
Stain wood is a process that involves applying chemicals to the surface of wood, which changes its color. This chemical reaction changes the wood's color from white to brownish. Oak is the most commonly used wood for staining, but other woods can also be stained.
There are many methods to apply stain to wood surfaces. Some methods involve mixing the stain with a solvent (such as turpentine) and then brushing or spraying the mixture onto the wood. Some methods involve a mixture of water and dye that is applied directly to the wood. The stain can be mixed with paints and varnishes to become part of the final coating.
Preparing the wood surface is the first step to staining it. The wood must be thoroughly cleaned to remove all grease and dirt. Sanding can smoothen out scratches and uneven spots. The next step is to choose the stain type you want. There are two main kinds of stains available: non-penetrating stains and penetrating. Penetrating stains penetrate deeper into the wood than non-penetrating ones, making them ideal for dark colors such as mahogany. Non-penetrating stains work best with light colors like maple.
After deciding on the type of stain, you want to apply, prepare your tools. Because you can spread the stain evenly with a paintbrush, it is ideal for applying them. You should also have some handy rags to wipe up excess stains after you finish painting. If you are planning to mix your stain, ensure you have enough containers for each component.
After you have prepared your materials for staining, clean the area. Use warm water and soap to clean away dirt and dust. You can wipe down the entire furniture using a damp rag with clean water. Make sure you eliminate any loose debris, especially if you plan to stain darker wood.
Next, apply the stain. Apply the stain by brushing or spraying it onto one side of the furniture. You should work slowly and carefully. Continue moving along the grain until you reach your opposite end. The stain should not drip off of the wood's edge. Before you proceed with the next steps, let the stain dry completely.
Clear polyurethane is used to protect the painted surfaces. Three coats are recommended for polyurethane. Allow the third coat of polyurethane sealer to dry overnight before applying the final coat.